Master your scroll saw with these five essential tips for cleaner cuts, better control, and more precision.
A scroll saw is one of the most versatile tools in a woodworker’s shop. It can handle intricate cuts, curves, and fine details that other saws just can’t touch. You can make practically anything, from home improvement pieces and wood art.
But like any tool, it takes some skill and practice to master. Here are five tips to make working with a scroll saw easier, more precise, and just plain more enjoyable.
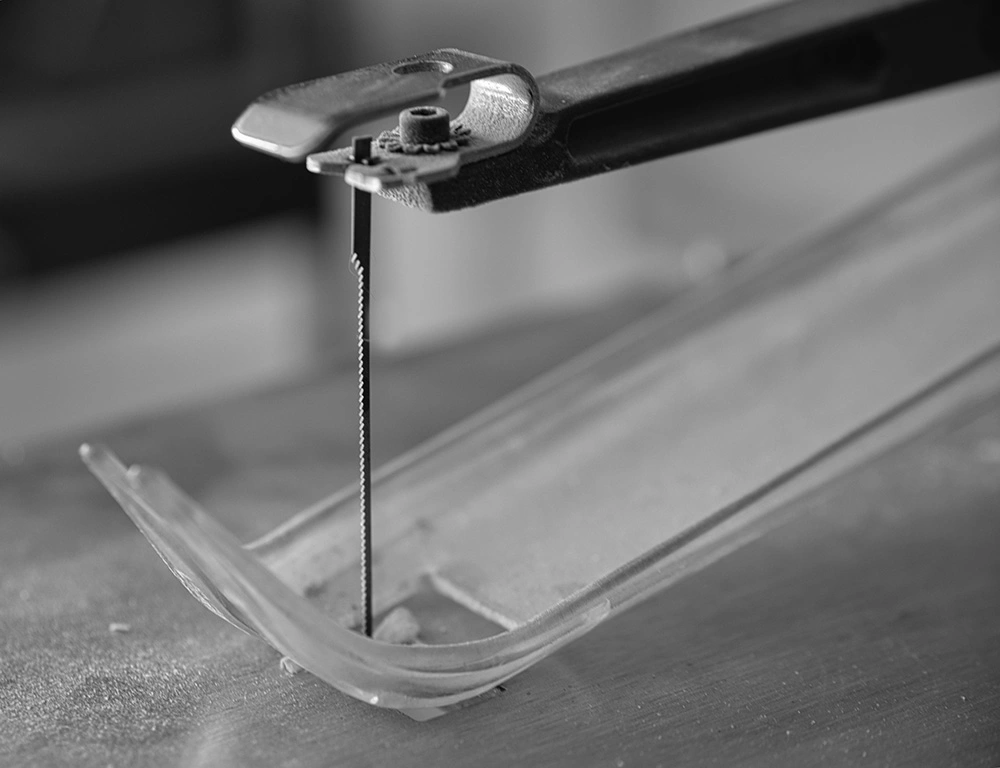
Not all blades are created equal. The type of wood, thickness, and the level of detail in your project all determine which blade to use. Thinner blades with more teeth per inch (TPI) are great for detailed work, while thicker blades with fewer teeth are better for cutting through heavier stock. Keep a variety of blades on hand and don’t be afraid to swap them out if the cut isn’t going as smoothly as it should.
Pushing too hard won’t make the cut go any faster—it’ll just wear out your blade and make your cuts less precise. A good scroll saw blade should glide through the wood with minimal pressure. If you feel like you’re forcing it, you might need a sharper blade or a slower cutting speed. Relax, take your time, and let the saw do its thing.
Blade tension is key to getting clean, accurate cuts. Too loose, and the blade will wander and bend. Too tight, and it might snap mid-cut. A properly tensioned blade should “ping” when you pluck it, like a guitar string. If it feels floppy or sounds dull, tighten it up a bit before you start cutting.
One of the best upgrades for a scroll saw setup is a foot pedal switch. It gives you hands-free control over the saw, making it easier to stop and start without fumbling for a switch. This is especially useful for making precise cuts, adjusting your grip, or simply taking a quick pause without losing focus.
I don’t have one myself, but it’s on my list!
Cutting multiple pieces at once saves time and helps keep intricate designs consistent. Stack cutting works by layering thin sheets of wood together with tape or temporary adhesive, then cutting them all at the same time. This technique is a game-changer for projects like ornaments, puzzles, and layered wood art.
Vibration can cause your workpiece to shift, leading to inaccurate cuts. Using a solid, non-slip mat or clamps can help keep the wood steady while you work. This is especially important when cutting small or delicate pieces where precision is key. The blade won’t do a tremendous amount of damage, but you certainly don’t want any shifting while you’re in the middle of cutting.
Jumping into a project without a clear plan can lead to unnecessary mistakes and wasted material. Take the time to mark your cut lines clearly and think through the order of cuts. For intricate designs, drilling small starter holes can make interior cuts easier and prevent unnecessary stress on the blade.
A well-lit workspace makes a huge difference when working with a scroll saw. Shadows or dim lighting can make it hard to see fine details, leading to errors in your cuts. A bright, adjustable LED lamp positioned near your saw will help you follow your cut lines more accurately and reduce eye strain.
You can even find a magnifying glass with a built-in light! Combine that with a foot pedal, and you’re golden.
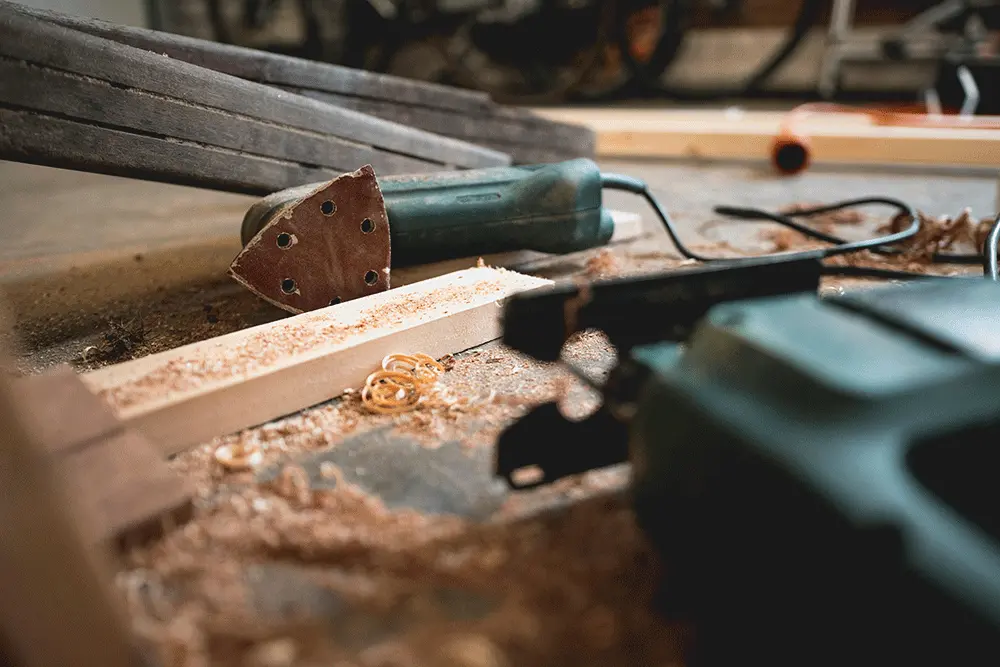
Even with a fine blade, scroll saw cuts can leave behind small burrs or rough edges. A quick pass with fine sandpaper or a needle file can clean up the edges and give your work a polished look. If you’re working on a detailed piece, take your time with this step to maintain sharp, crisp lines.
A scroll saw can turn a simple piece of wood into a detailed masterpiece, but like any tool, it takes practice and patience. Keep these tips in mind, experiment with different techniques, and most importantly—enjoy the process.
Happy scrolling!